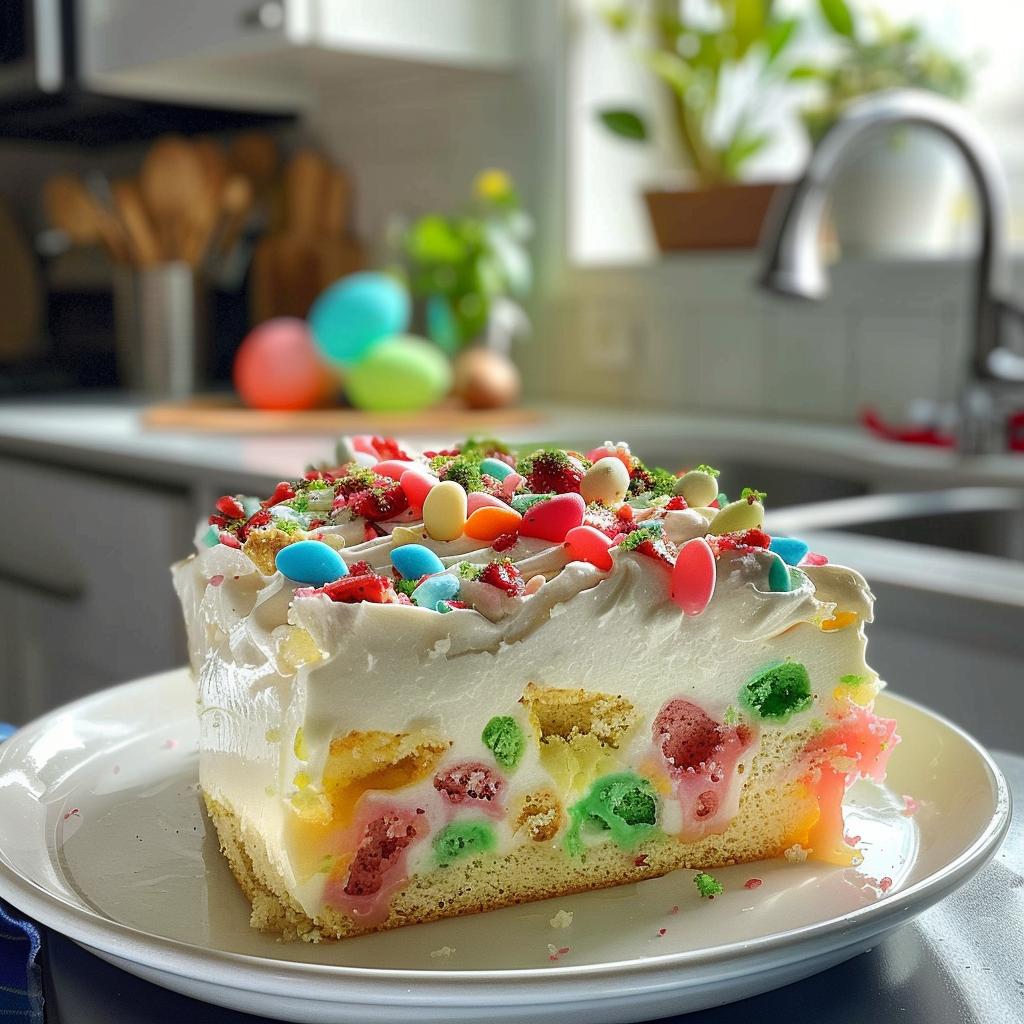
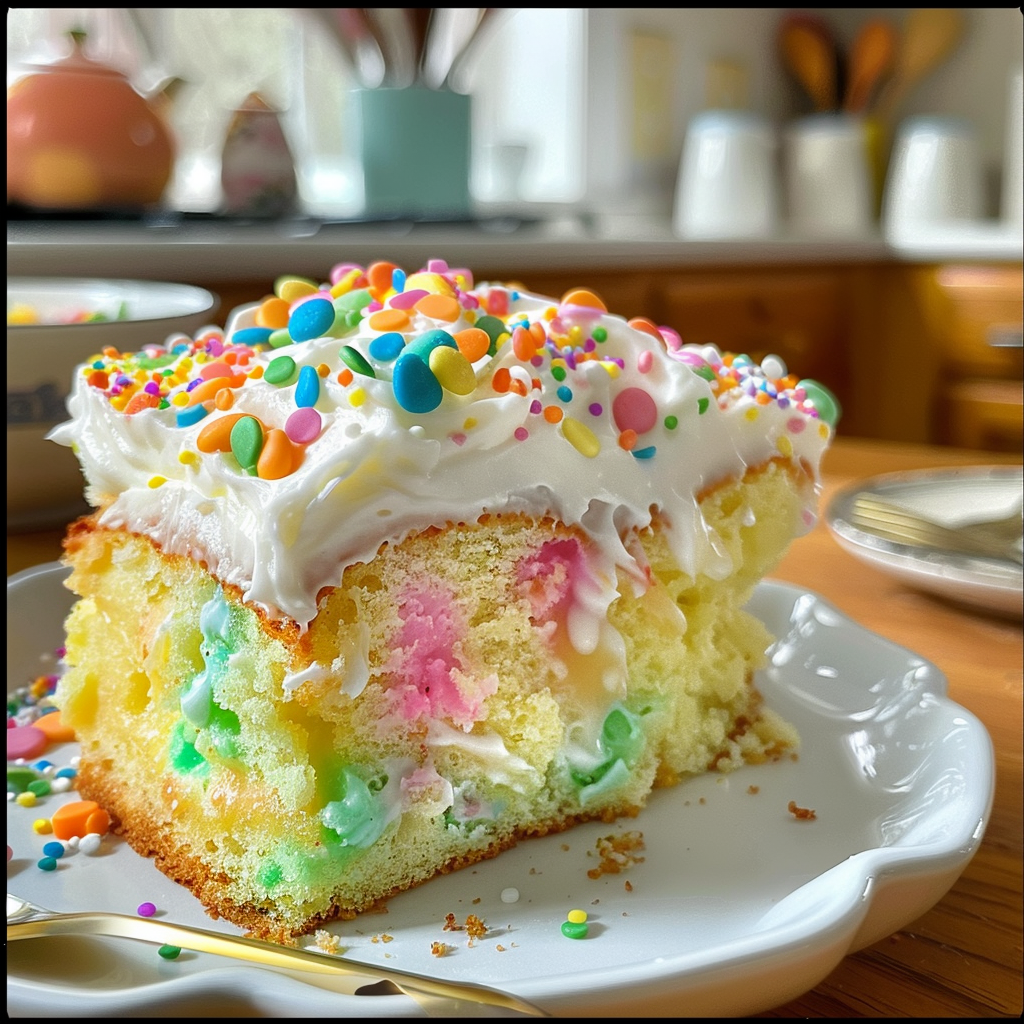
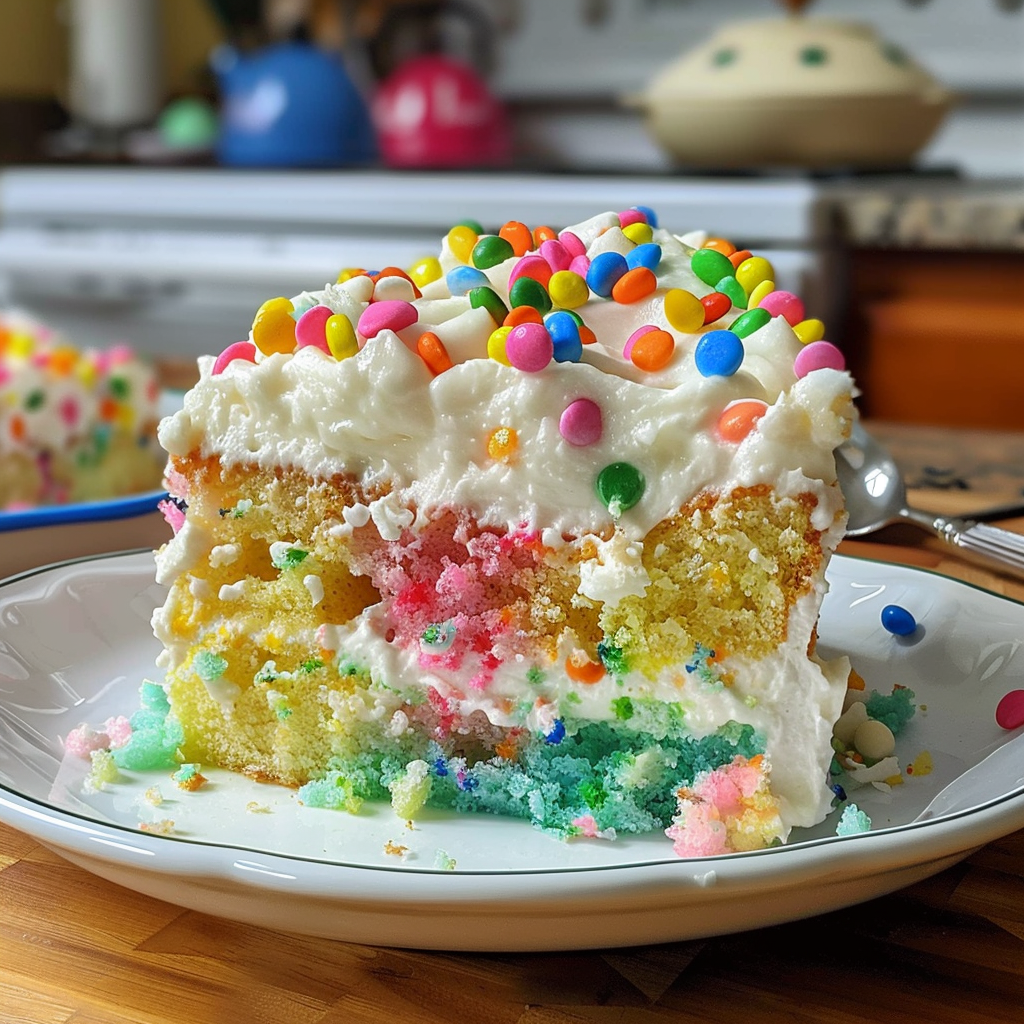
The aroma of freshly baked cake wafts through the air, mingling with hints of fruity sweetness and creamy goodness. Can you picture it? A vibrant Easter Poke Cake awaits, ready to dazzle not just your taste buds but also your Instagram feed.

This dessert isn’t just a treat; it’s a celebration on a plate. I remember the first time I made this cake for an Easter gathering. The smiles on my family’s faces were priceless as they dug into its colorful layers bursting with flavor!
Why You'll Love This Recipe
- This delightful Easter Poke Cake is incredibly easy to prepare; anyone can master it!
- Its bright colors and flavors make it a showstopper at any gathering.
- Each slice reveals a delicious surprise that keeps everyone coming back for more.
- Perfect for potlucks or holiday dinners, this cake is sure to become a family favorite.
I once made this cake for an Easter brunch, and let me tell you—the kids went wild! They were practically dancing around the table waiting for their slice.

Essential Ingredients
Here’s what you’ll need to make this delicious dish:
- Yellow Cake Mix: I use a good-quality mix for convenience; it simplifies the process without sacrificing flavor.
- Pudding Mix: Opt for instant vanilla pudding; it adds creaminess and moisture that elevate the cake.
- Eggs: Fresh eggs work best; they help bind everything together perfectly.
- Milk: Whole milk gives richness; feel free to use low-fat if that’s what you have on hand.
- Whipped Topping: Use cool whip or homemade whipped cream for that fluffy finish everyone loves.
- Gelatin or Jello: Pick your favorite flavor; it’s all about adding color and fun!
- Sprinkles: Rainbow sprinkles are a must; they add the festive touch that makes this cake so special.
The full ingredients list, including measurements, is provided in the recipe card directly below.
Let’s Make it together
Preheat your oven to 350°F (175°C) and grease a 9×13 inch baking dish. Prepare according to package instructions until smooth and combined.
Bake the Cake : Pour batter evenly into the prepared dish before placing it in the oven. Bake for about 30 minutes or until golden brown and a toothpick inserted comes out clean.
Create Holes in the Cake : Once baked, let it cool slightly before making holes all over using a fork or skewer. This will help absorb those delicious flavors!
Add the Gelatin Mixture : Prepare your gelatin according to package directions. Carefully pour it over the poked cake while it’s still warm—this step ensures every bite is packed with flavor.
Chill in the Refrigerator : Allow the cake to chill in the fridge for at least two hours so that all those tasty flavors meld beautifully together.
Add Toppings : Once chilled, spread whipped topping over the top of the cake generously. Don’t forget to sprinkle on those festive sprinkles!
Slice & Serve : Cut into squares and serve! Take a moment to admire how gorgeous it looks before everyone digs in—trust me, you’ll want a picture first!
Now you’re set up for success with this delightful Easter Poke Cake! Each step is designed not only to guide you but also make cooking feel like an enjoyable adventure rather than a chore! Enjoy every sweet moment of baking!
Key Tips for a Delicious Easter Poke Cake
- Use a moist cake mix to ensure a tender texture.
- Baking it according to package instructions produces the best results.
- Remember to poke holes evenly to allow the filling to soak in fully.
- It’s all about that flavor infusion!
Perfecting the Cooking Process
Start by baking the cake and letting it cool completely before poking holes for the filling. This helps achieve the perfect balance of flavors without making a soggy mess.

Add Your Touch
Feel free to swap out the pudding flavors or add fresh fruit on top. You could even mix in some candy bits for an extra festive flair that screams Easter!
Storing & Reheating
Store your Easter Poke Cake in an airtight container in the fridge for up to five days. If you make it ahead of time, just enjoy it cold straight from the fridge!
Chef's Helpful Tips
- To avoid a dry cake, don’t overbake; check for doneness a few minutes early.
- Using room-temperature eggs and milk enhances moisture and texture.
- Topping with whipped cream right before serving keeps it light and airy, making every bite delightful.
Nothing beats watching my family’s faces light up when they take their first bite of my Easter Poke Cake. One year, my cousin thought I had hidden chocolate bunnies inside—it was just his imagination running wild!

FAQ
What makes a good Easter Poke Cake?
A good Easter Poke Cake is moist, flavorful, and soaked with delicious filling.
Can I use homemade cake instead of box mix?
Absolutely! Just ensure it’s moist enough to absorb all that tasty goodness.
How long can I store leftovers?
You can store leftover cake in the fridge for up to five days without losing quality.

Easter Poke Cake
- Total Time: 45 minutes
- Yield: Serves approximately 12 slices 1x
Description
Easter Poke Cake is a vibrant, festive dessert that combines moist cake soaked in colorful gelatin and topped with fluffy whipped cream, making it an irresistible treat for your holiday gatherings.
Ingredients
- 1 box yellow cake mix
- 1 package instant vanilla pudding mix
- 3 large eggs
- 1 cup whole milk
- 1 container whipped topping (Cool Whip or homemade)
- 1 package gelatin or Jell-O (your choice of flavor)
- Rainbow sprinkles
Instructions
- Preheat oven to 350°F (175°C) and grease a 9×13 inch baking dish.
- Prepare the yellow cake mix according to package instructions and pour into the prepared dish.
- Bake for about 30 minutes until golden brown; a toothpick should come out clean.
- Cool the cake slightly, then poke holes all over using a fork or skewer.
- Prepare gelatin according to package directions and pour over the warm cake.
- Chill in the refrigerator for at least two hours.
- Spread whipped topping evenly over the chilled cake and add rainbow sprinkles before serving.
- Prep Time: 15 minutes
- Cook Time: 30 minutes
- Category: Dessert
- Method: Baking
- Cuisine: American
Nutrition
- Serving Size: 1 serving
- Calories: 290
- Sugar: 24g
- Sodium: 250mg
- Fat: 11g
- Saturated Fat: 6g
- Unsaturated Fat: 4g
- Trans Fat: 0g
- Carbohydrates: 44g
- Fiber: 0g
- Protein: 3g
- Cholesterol: 50mg
Keywords: For extra flavor, consider mixing in fresh fruit or candy bits with the whipped topping. Substitute different pudding flavors for a unique twist on this classic recipe.


